
Step by step: How to make any puzzle ready-to-hang after you’ve finished building it
Puzzles are painstaking, meticulous and often impermanent but they do not have to be. If you have been puzzled in the past by what to do with your puzzle after it is finished, look no further!

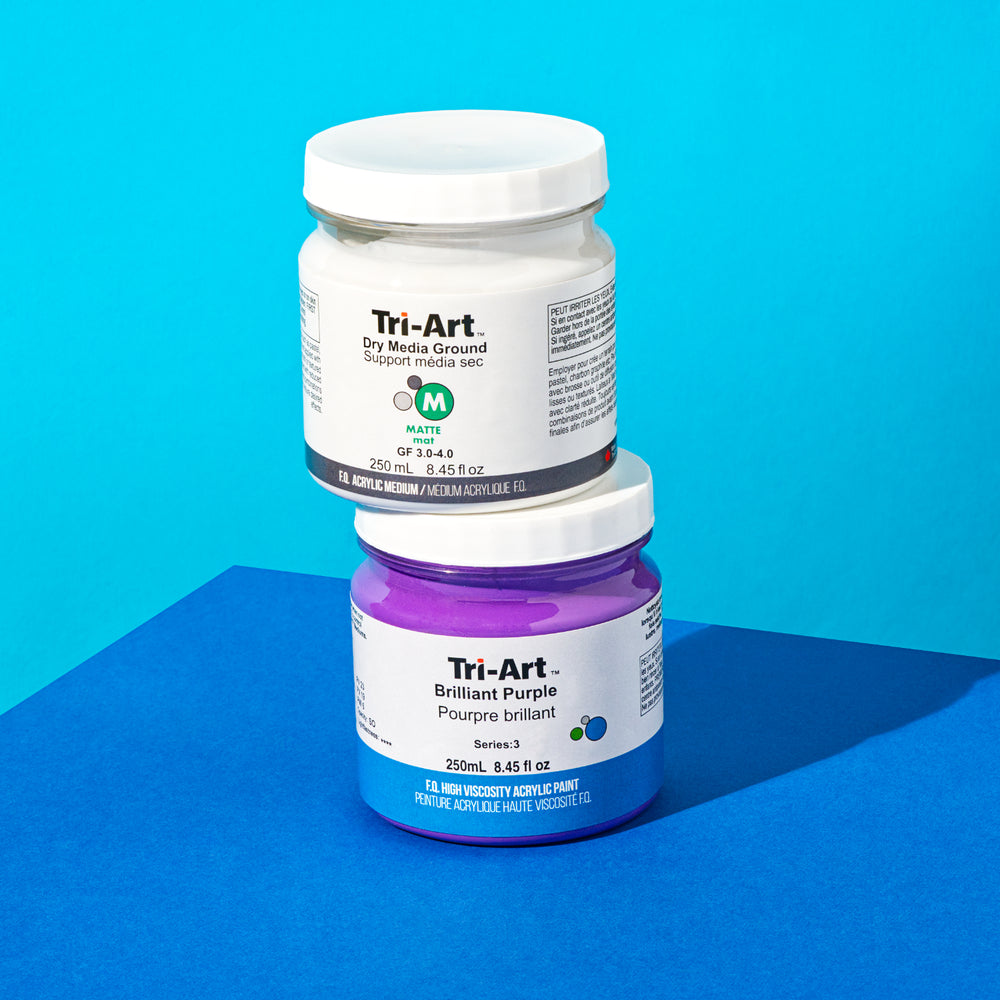
These are the products we used:
STEP 1
After finishing your puzzle, use an acrylic medium to adhere the pieces together. For this, we recommend using an acrylic medium like our Polymer Medium. Brush it onto both sides of the puzzle. Each side will take about an hour to dry.


STEP 2
Find your substrate and adhere your puzzle to it. There are a multitude of surfaces you can use for this, we recommend using Tri-Art’s hard Bamboo Panel or Alu Panels or Alu Cradles. We used one of our 12×12” cradled Alu Panels because it had the same dimensions as the puzzle itself. You can adhere the puzzle to your surface by brushing the Polymer medium onto your substrate, then applying your puzzle on top of the surface. Wait approximately 1 hour for the puzzle to fuse to your substrate before proceeding to Step 3.


STEP 3
As a final touch (and for additional adhesion and gloss finish), apply a coat of Liquid Glass Medium/Resin. This will give your puzzle a saturated, glass-like finish. Before pouring the Liquid Glass Medium, it is best to tape the sides of your substrate with masking tape as protection from dripping. Pour the Liquid Glass Medium directly onto your substrate and spread it across the surface area. You can do so through physically tilting your piece and allowing the Liquid Glass Medium to gradually spread across the full surface or you can use an acrylic tool like a palette knife. Pop any air bubbles before leaving it to set. If you see any imperfections in the pouring process, you can add small drops of Liquid Glass over top of the divots. These will self-level but you can also continue to use an acrylic tool to help smooth the surface.

STEP 4
Allow the Liquid Glass Medium/Resin to cure at room temperature for at least 24 hours (drying time can vary for this depending on how thick the Liquid Glass has been applied and the humidity of the room). Ensure that your substrate is level to avoid pooling and sagging of the medium. (Optional: Cover with box to keep surface clean and free of dust and particulate being embedded.)


Now your masterpiece is ready to hang! Share yours with us on social media @triart.mfg