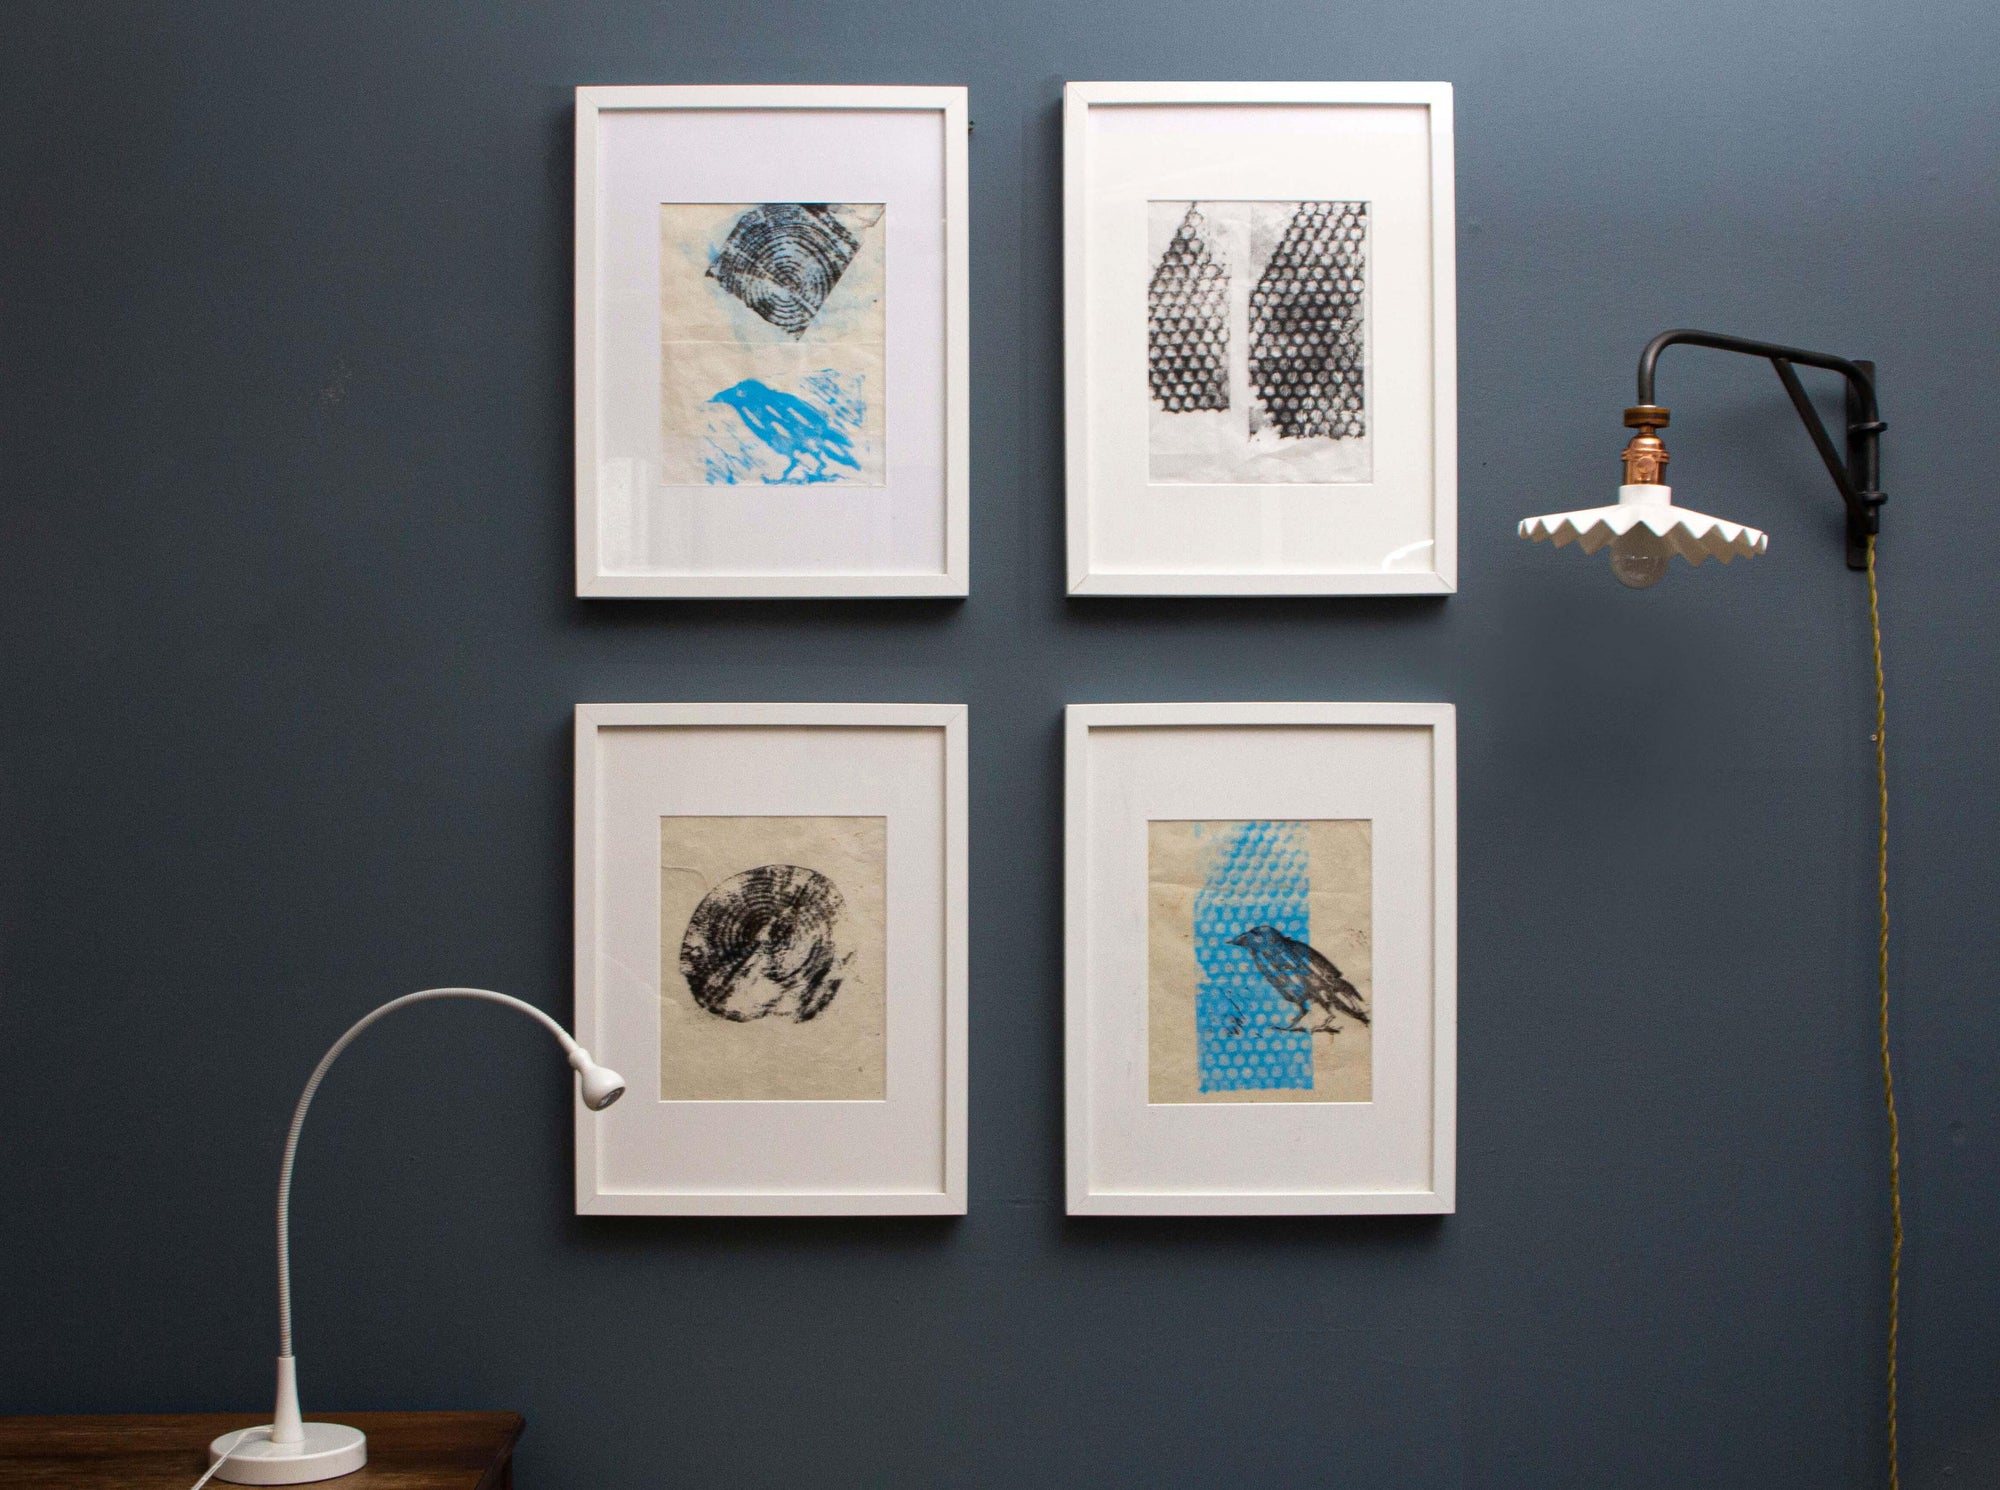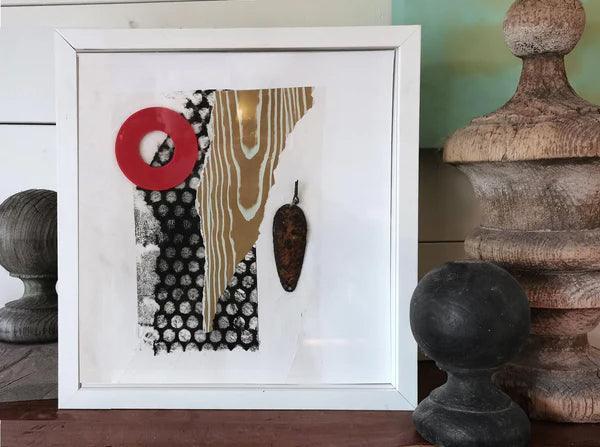
Print making isn't just for paper surfaces
Using a lino block printing technique to print onto different surfaces offers endless options.

These are the printing inks used for the prints:
Materials: Impression Inks: Black, Titanium White and Phthalo Blue, printing brayer/roller, test papers, inking plate, palette knife, cardboard box, canvas bag, lino block and cutting tools.
STEP 1
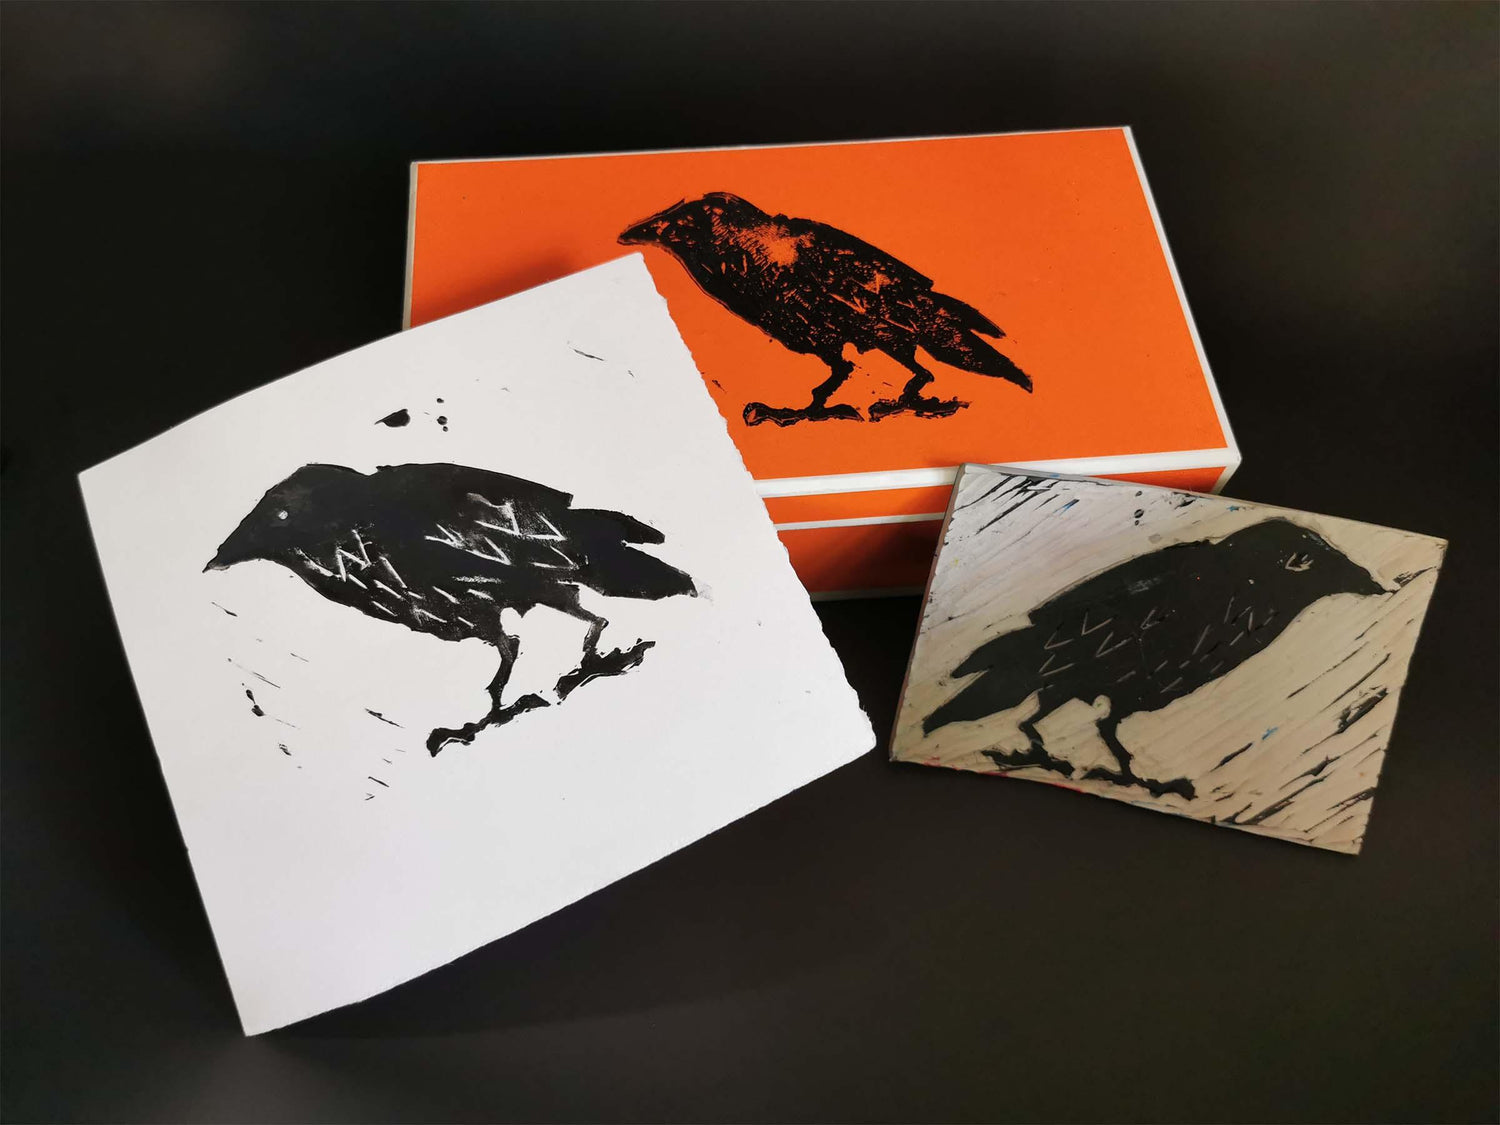
Lino Block
Once your image is drawn onto the block, cut away the surface that is not going to receive ink. Do a proof print to test the amount of ink and to see if there are areas that are still collecting the ink. These may be carved away at this stage.
NOTE: ALWAYS CARVE AWAY FROM THE DIRECTION OF YOUR HANDS.
How to prepare lino block for printing. See video above.


Step 2
Mixing your colour
Mix your custom colour ink. Mix on the inking surface or pre mix for a larger volume in a container. Once mixed let the ink rest for 10-15 minutes for the tack to build.
Mixing custom ink colours is done in the same method as with paints. View mixing tip above.

STEP 3
Getting the right amount of ink on the roller
Make sure the ink is not too thick or it will slide and fill in the cuts on the block. When the consistency is right it will have a sweet tacking sound and the rolled ink will resemble a suede finish on the surface.
Test the amount of ink by rolling onto a piece of paper. This will let you know if you have too much or too little ink on the roller. If it is too much keep rolling onto the test paper. This image shows the inking for the blue print of the crow on the canvas bag in the above image.

STEP 4
Rolling ink onto the lino block
Apply an even layer of ink to the lino cut. Roll in different directions to ensure the entire surface is covered with ink. This image shows black ink which is applied the same as the blue ink.

STEP 5
Printing and the reveal
Place the lino block face down onto the surface.
Apply pressure over the entire surface. Use hands and a clean brayer if one is handy. Be sure to apply pressure to the entire surface. Then pull back the lino block for the reveal.
POSSIBLE PRINTING SURFACES: paper, cardboard, fabric, wood.
Clean up:
You can ink up the lino block again and reprint. When the prints start to loose definition of lines it is time to clean the lino block. Wipe the excessive ink with a rag or scrape with a palette knife, then wash the plate by emmersing in water. Allow to thoroughly dry, especially the carved lines. the lino block may be used for printing again.
The inks will stain the lino block which will not effect further printings.
Now your print needs to dry. Share your prints on different surfaces with us on social media @triart.mfg